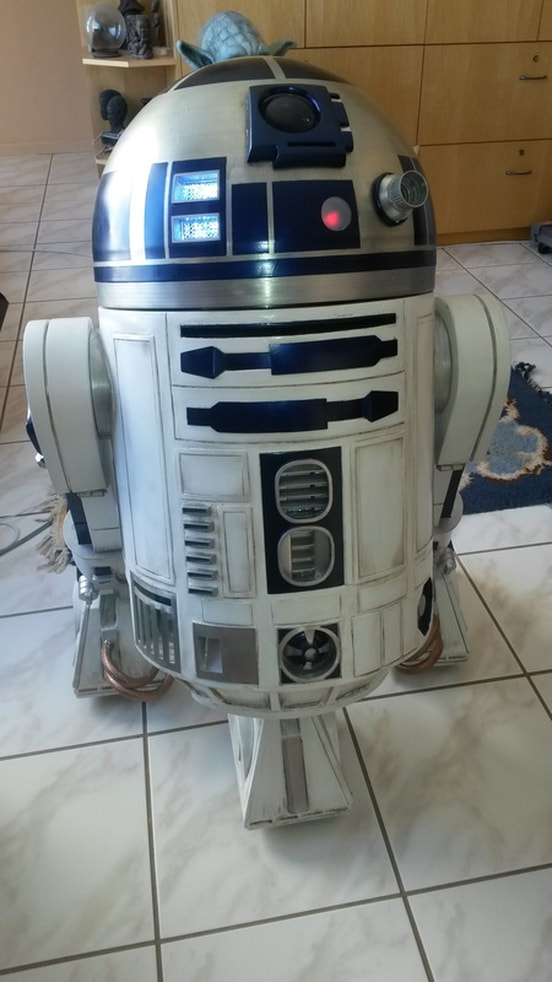
R2D2 version 2
I suppose this could be titled the do's and don'ts of scratch building an R2D2. Here are some useful hints if you decide to make your own.
* You need the right tools - if you want a very high quality finish. In my case I don't own a CNC or laser cutting machine or a 3D printer. Everything you see here is handmade and cut - including my thumb. (see pic if you are not too squeamish).
* It's a very time consuming process - so don't rush. Allow at least a year or two build time.
* Budget is a major consideration - every part costs a lot in both time and money - particularly so if you buy pre-made Astromech parts. My R2D2 is 100% scratch built no astromech parts here.
* Sourcing suitable modifiable parts is very time consuming and frustrating process.
* Weight is a major issue - generally look for light and strong materials that are easy to work with. My R2D2 weighs in at around 45 kg which is relatively light by comparison to some builds. In retrospect if I had started from scratch I could have dropped the overall weight by at least 15kg. The knock on effect of 'heavy' impacts the entire drive system and overall cost/functionality.
* Weathering can be used to hide inevitable mistakes and imperfections.
* Don't give up - all your hard work will eventually be worth it.
* And hopefully you will complete the project without losing any limbs, fingers, eyes etc.
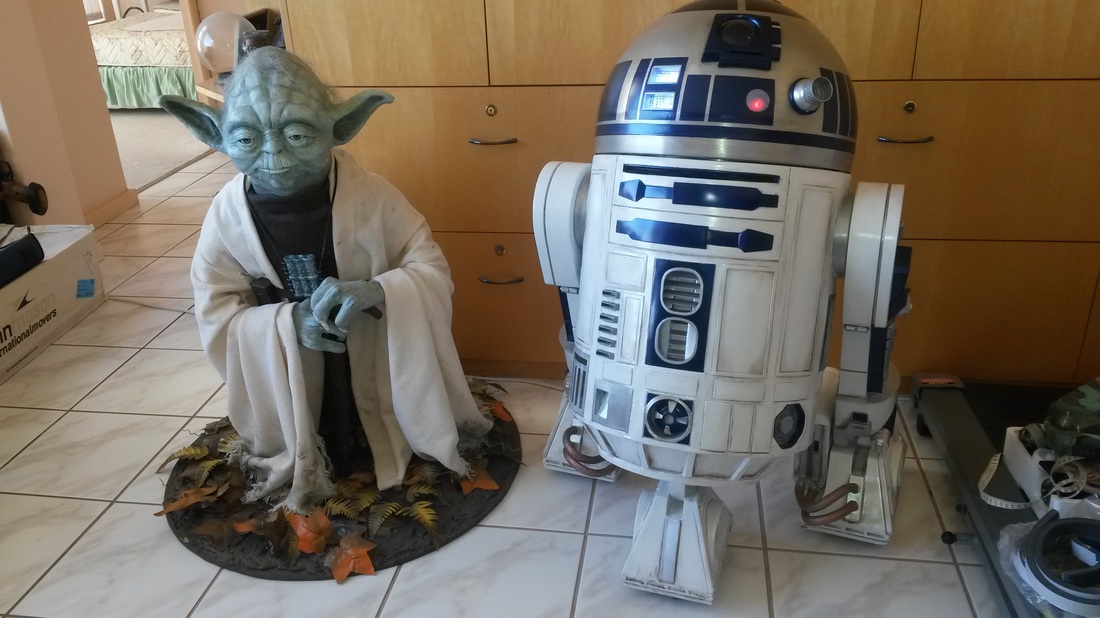
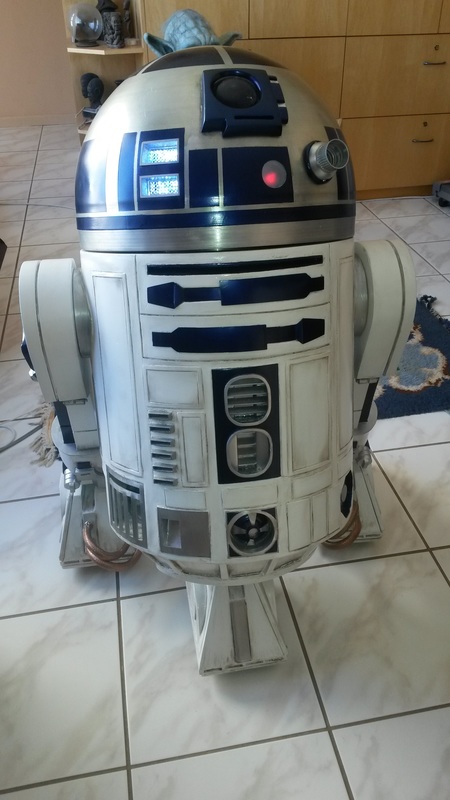
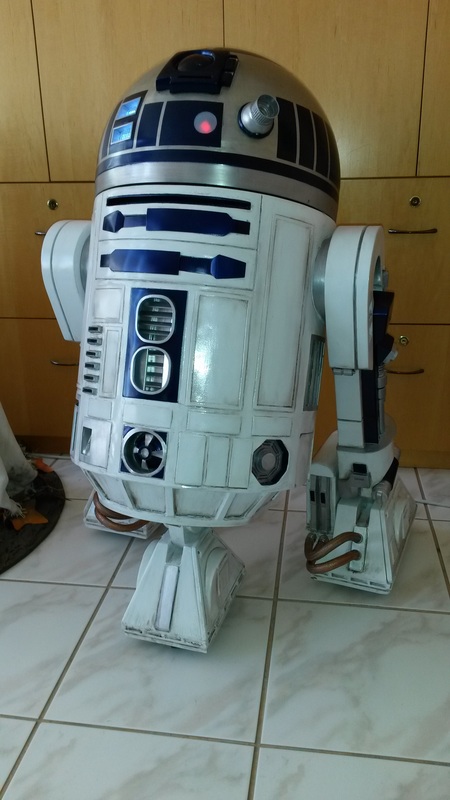
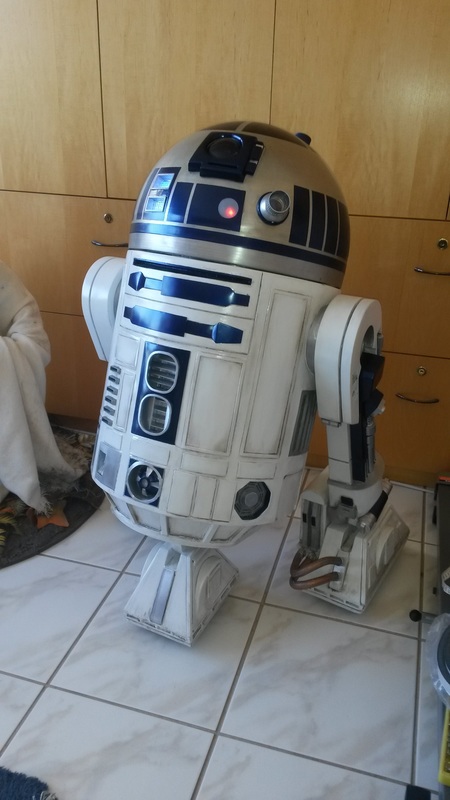
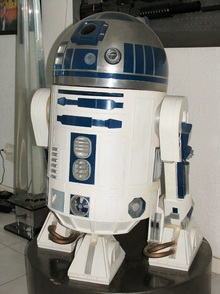
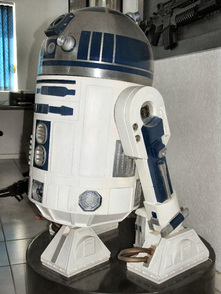
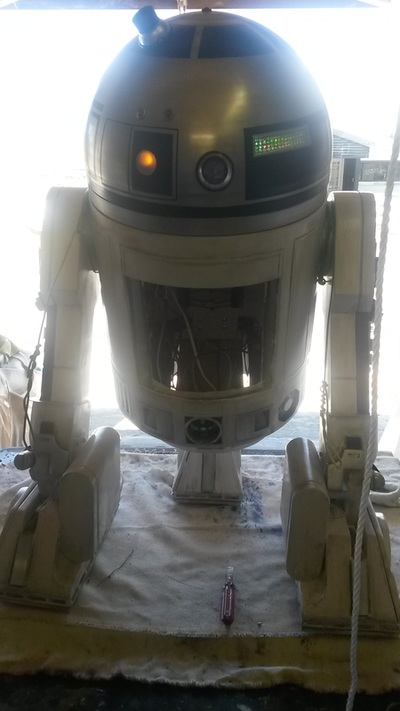
R2D2 V2 the end result
The mission
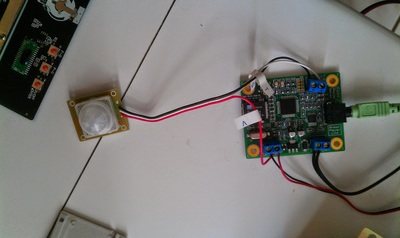
My original R2D2 V1 was a static prop. My objective for v2 was to do a complete overhaul /upgrade and turn R2D2 into a fully functional mobile robot. Basic functionality I wanted to achieve for the upgrade was unlimited dome rotation, dome lights, motorized side legs with forward and reverse capability. Stereo sound system with random sound triggering via motion sensor.
To drive R2D2 I realized I was going to have make some significant changes to the original due to the central polystyrene body core. The walls were made as mentioned out of polystyrene covered with a thin layer of F160 and pvs sheet. This skeleton was just too weak to carry the weight of the batteries and stress on the shoulder joints when moving around.
This strengthening process required a remake of all three legs and feet and a remake/strengthening of the shoulder joint and lower body area. Here's what the original R2D2 version 1 looked like.
R2D2 version 1 - static built in 2000 (1 year)
|
This version was made 15 years ago in 2000 with plans I drew up myself. Amazingly my measurements turned out to be less than 0.5" from the original schematics which have now surfaced on the interweb.
You can see some plastic is starting to discolor due to age and even the paint is slowly changing color. Unfortunately I don't have many pics of the version 1 original. |
The shoulder joint consisted of solid tubes extending out of the body into holes in the shoulder area of each leg.
A two cm metal rod extended inside the body from one shoulder to the other then screwed into the hub on each leg to hold the legs onto the body. This allowed each leg to rotate on their respective shoulder joint - but it wasn't very strong. The leg angle could be adjusted independently. |
R2D2 Version 2
building start date Jan 2015
Total build time 1 year for ver 1 + 1 year for ver 2
Materials
1) Body construction as a result of this being a modded build (version 1 upgrade) consists of a composite or layered drum with polystyrene / F160 mix endoskeleton. Exoskeleton is F160 and pvc outer 2mm shell.
2) Head/dome is an aluminum custom spun dome (the only thing I couldn't make myself).
3) The feet and legs are F160 covered with 1mm ABS white plastic.
4) Body and leg detailing are aluminum, abs sheet and small amounts of wood.
2) Head/dome is an aluminum custom spun dome (the only thing I couldn't make myself).
3) The feet and legs are F160 covered with 1mm ABS white plastic.
4) Body and leg detailing are aluminum, abs sheet and small amounts of wood.
The drive system
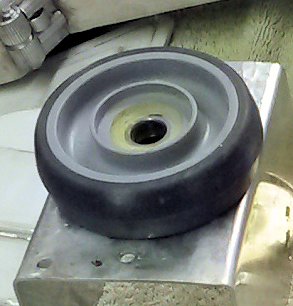
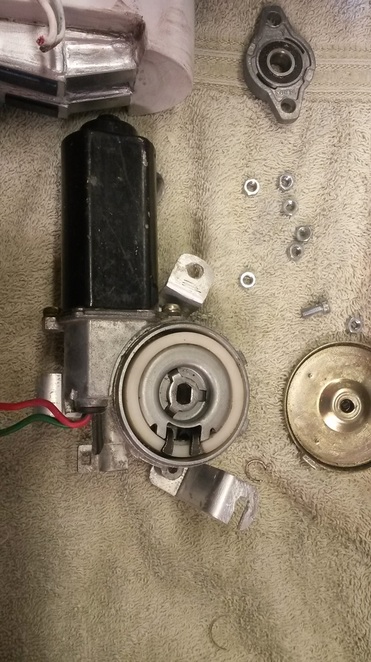
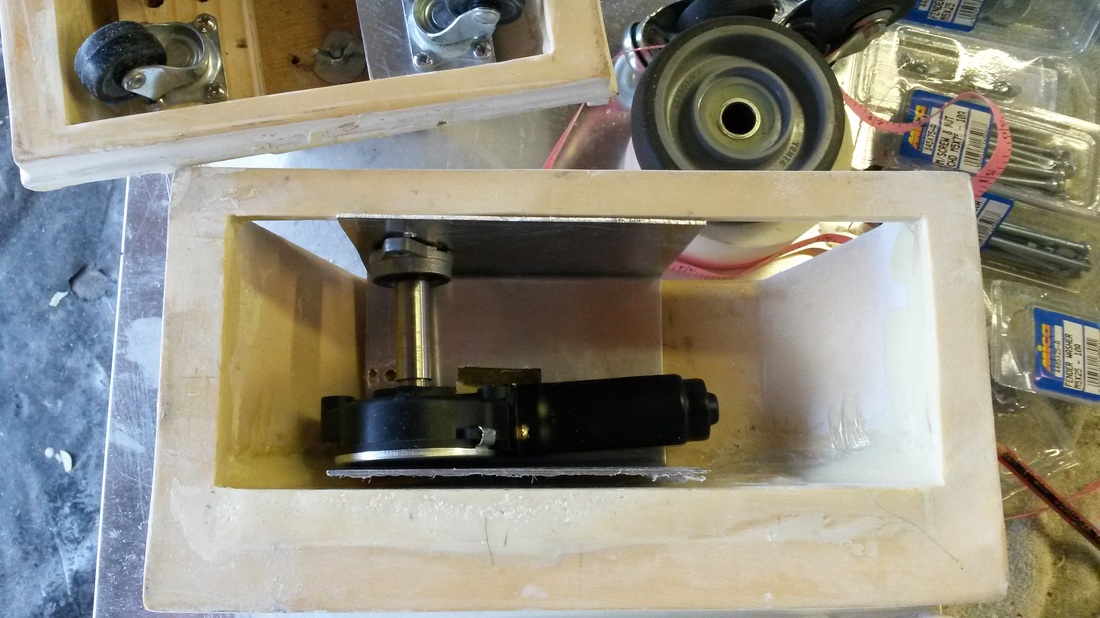
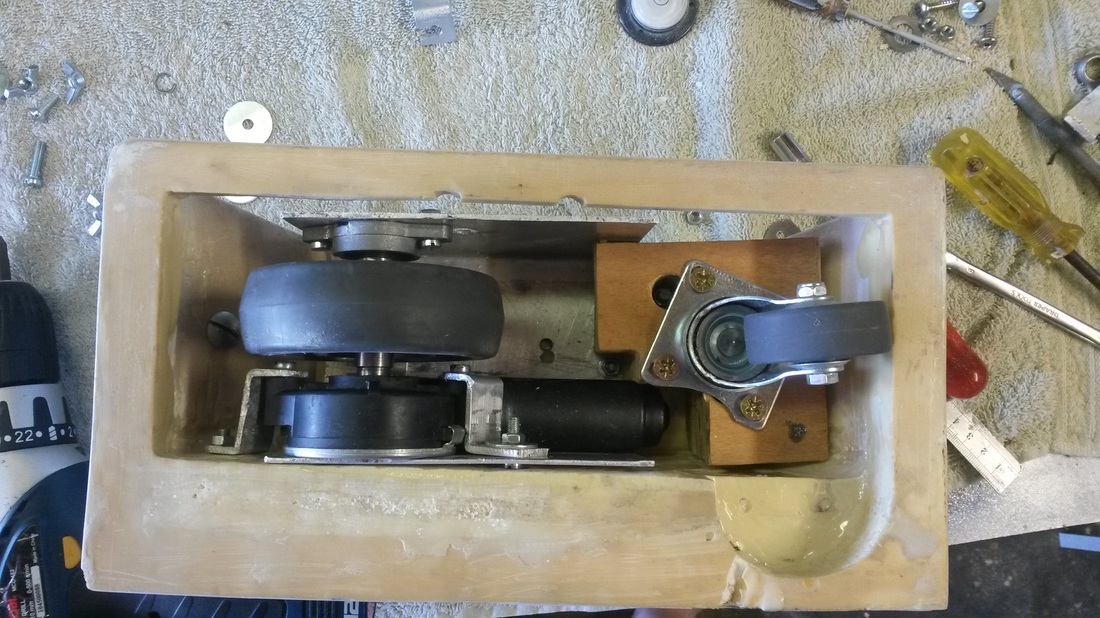
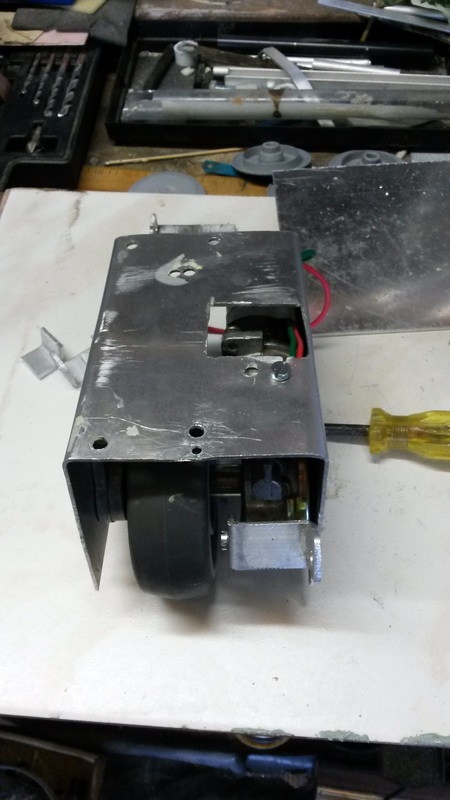
I decided to use two 12v brushed geared car window motors. They have a worm gear inside them and are capable of high torque at a reasonable current draw +/- 5 A . Snag is they needed a longer shaft. So I got a friend who has a lathe to make two shafts for me. The wheels I decided on came with bearings - so I locked them with body putty.
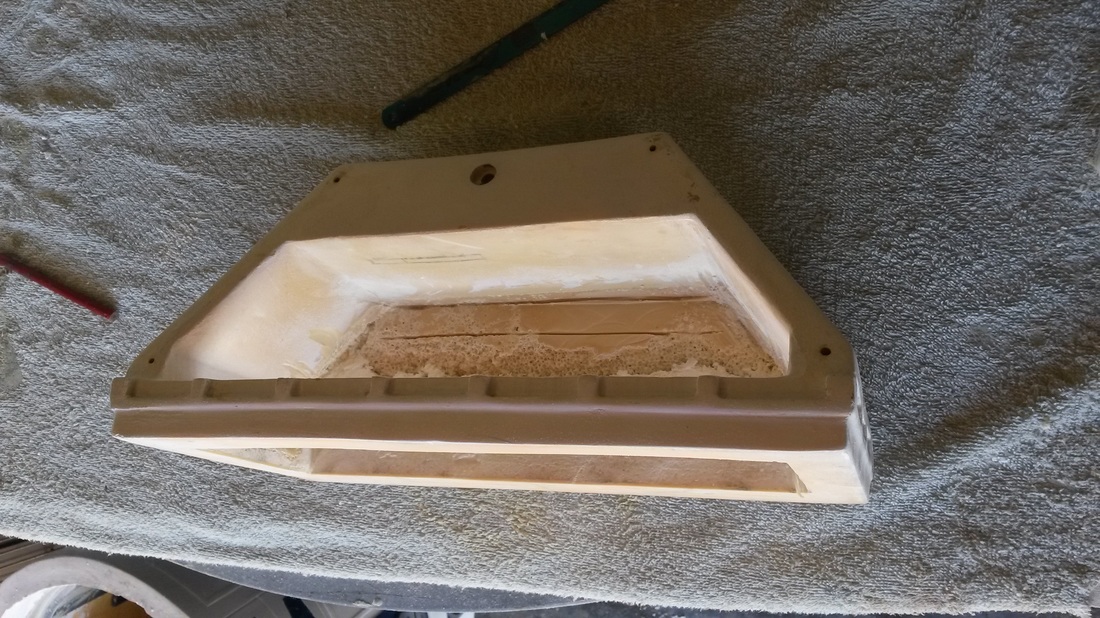
The feet had to have a lot of strengthening before I could add the drive system. You can see the effects of using polystyrene and then adding F160 to fill in the weak spots on the image of the foot - prior to strengthening.
I'm not an engineer so excuse the build quality - I did my best with the tools / skills I have. Mistakes were made!
The front leg / foot
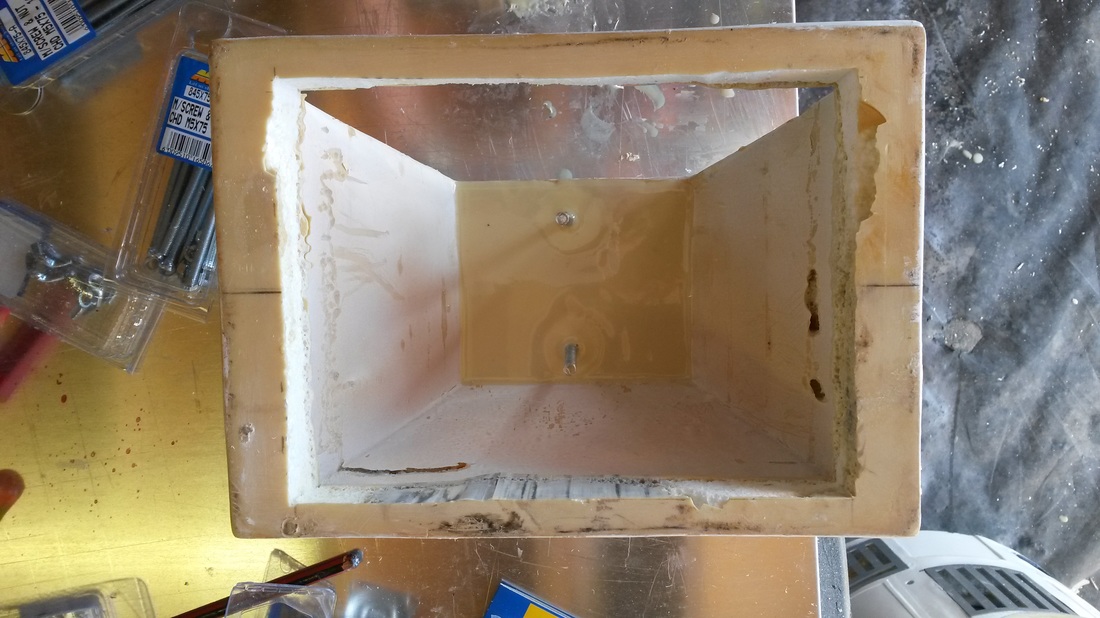
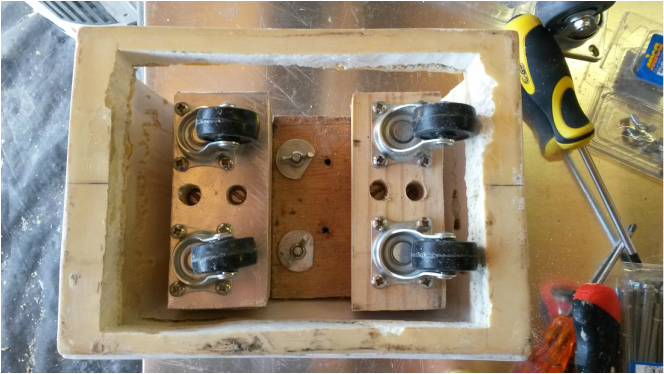
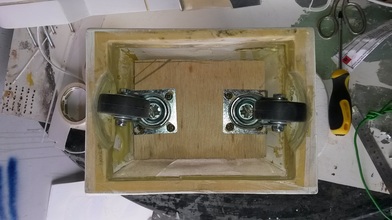
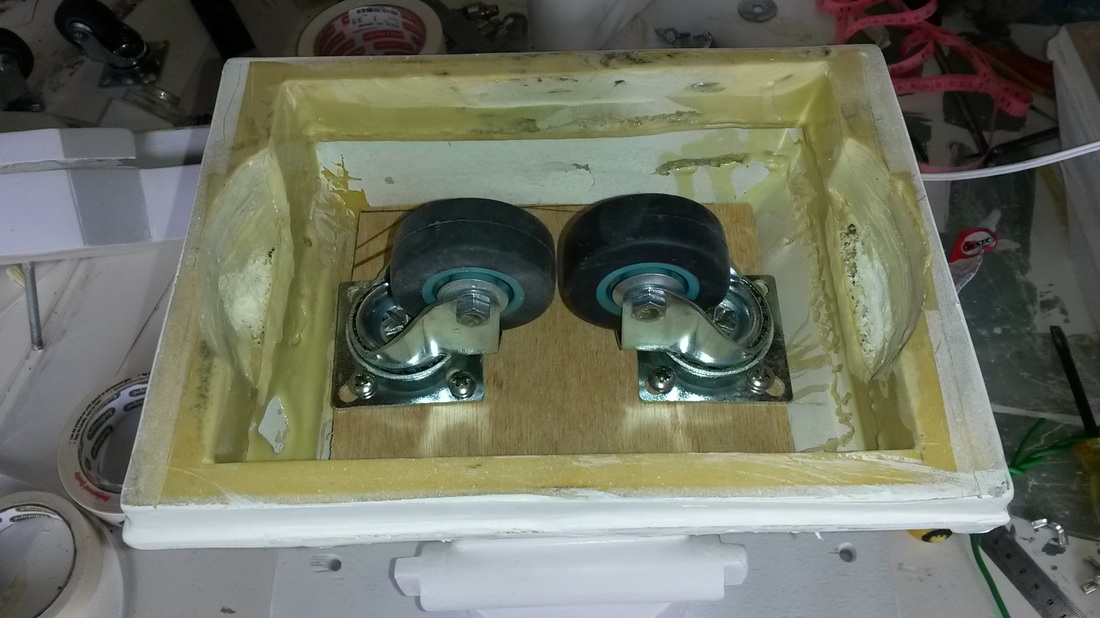
The front leg was deceptively tricky. It needed to be able to move in all directions - carry a large amount of weight and the ankle needs to be able to transfer stress directly to the wheels. I used 4 castor wheels initially. They were too small so I opted for two larger ones. Most of the foot had to be rebuilt to strengthen the polystyrene sides.
The side legs
Each leg took 2.5 months to complete. One of the things to consider when building a prop is your work space and ventilation. I've been working with some dangerous chemicals for a few years now and all I can say is wear a proper mask and make sure you have good ventilation. My garage wasn't ideal. Mistakes were made. I nearly lost two fingers, both thumb nails and one eye - due to rushing and carelessness.
The body
As mentioned above the body was originally created out of light weight polystyrene and then painted with a few layers of F160 (PU resin). Then covered with 1 mm PVC sheet. In hindsight not a great combination. F160 is exothermic for one thing - a factor I overlooked during the planning stage.
The initial body wall I made 15 years ago warped slightly as result of the heat generated by the resin. So the work required in this remake was to hollow out the walls remove all polystyrene and replace with a suitable lightweight filler. Then fix any imperfections in the outer shell.
A lot of unpleasant work which took around two months. F160 is a great - but quite dangerous to work with since it's an isocyanate combined with a resin. It cures in about 4 minutes depending on temp. The dust is super fine and can permanently damage your lungs if breathed in - so ventilation and a good mask is essential. I decided to coat the body with ABS since it's easy to work with and relatively cheap and you can get a good finish if you are careful. Some of these images are a little blurred - didn't realize I had dust on the lens.
The Head / Dome
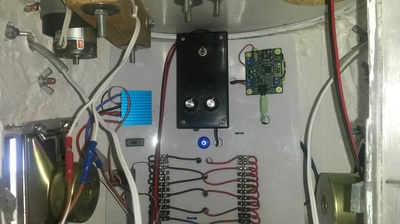
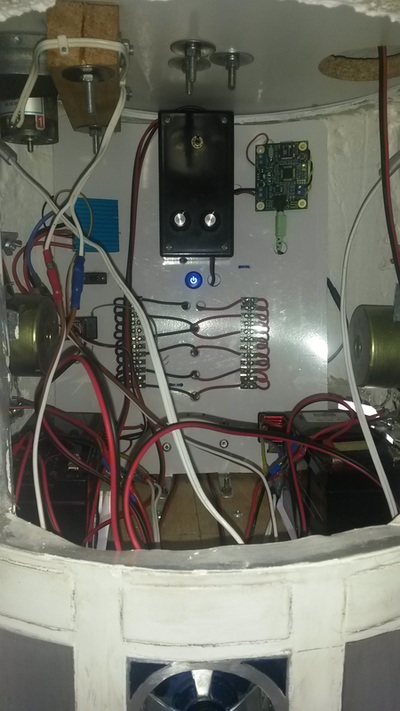
I used a boat ESC to drive the head motor. Motor is a 12v brushed Pitman. Lights are via rotating disks. Multiple step down voltage regulators used for light segments.
Electronics - dome drive and legs
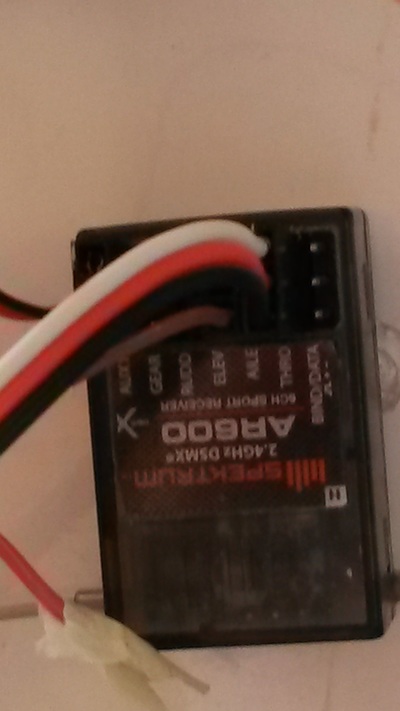
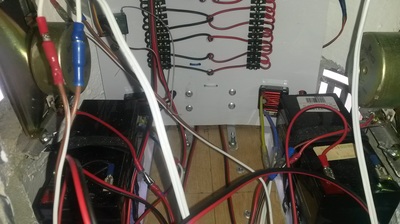
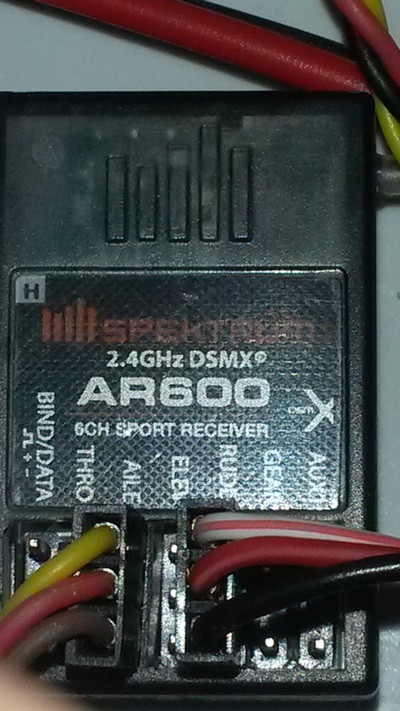
The batteries for drive motors (head and legs and sound) and are two 12v in parallel. The original 22W stereo amplifier I built created interference so I had to ditch all my hard work and replace it with a 20w car/boat amplifier I got off eBay. RC transmitter is Spektrum DX5e and receiver is AR600. Motor controller for legs has changed from 2x Hobbywing 1060 to a 25A Sabertooth which is on order.
Painting and weathering
I used a water soluble charcoal pencils to do the weathering. This way I can wipe away excess and make him all shiny again.

